
Seven days. That is how long the cardboard lasted inside the first green cube head I made, which went to a four-year-old on a Saturday and came back to me the following Friday looking like a beanbag with a face on it. The child had done nothing wrong. He had carried it about, held it against his cheek at bedtime, and that was enough — warm hands, warm breath, and a cereal box’s worth of glued paper layers quietly giving up inside.
I have made a lot of blocky mob heads since, and none of them have card in them. What holds a cube square is not one clever trick but three things working together: a stitch dense enough to stop light getting through, an insert that does not care about damp, and stuffing put in in the right order. Get the order wrong and even a foam-lined cube will dent at the corners within a month.
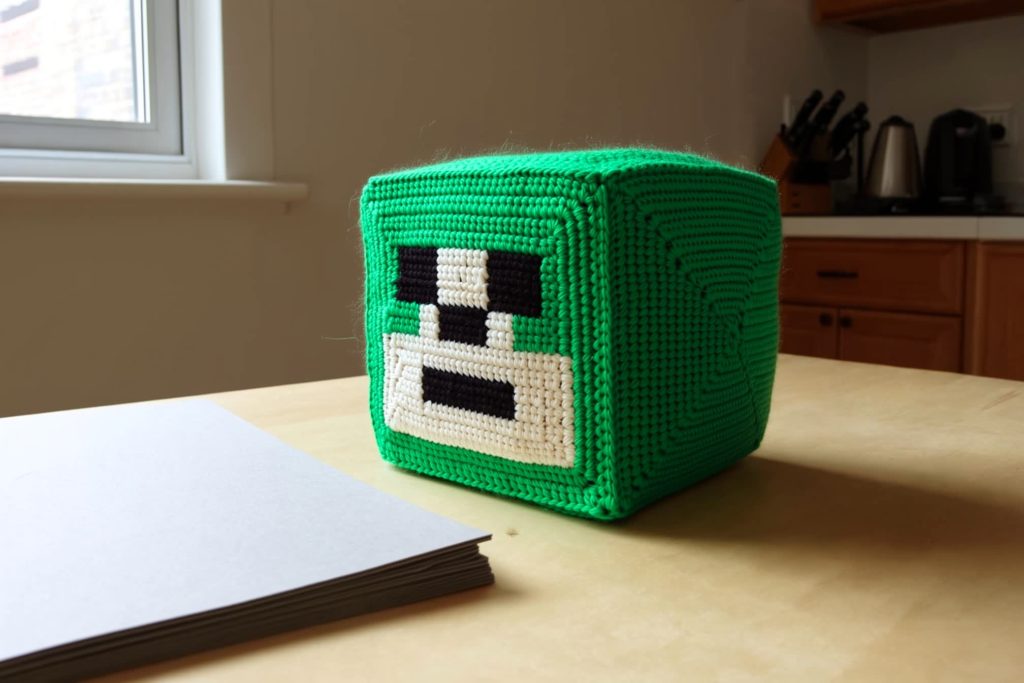
Why the cereal box went soft in a week
Cardboard is layers of paper stuck together. Moisture creeps between the layers, the glue lets go, and the board starts to behave like felt — it bends instead of resisting. You do not need a spill for this. Hands, humid rooms and the faint damp that lives inside any stuffed toy will do it over a few weeks, and faster if the toy sleeps in a bed.
The failure is never flat, either, which is what makes it look so bad. The corners go first, because that is where the board is creased and the crease is already a weak line. So you get four soft corners and four faces that are still sort of rigid, and the whole head takes on that slumped, slightly melted look. Worse, softened board holds the dent. Pull the stuffing out, press it flat, put it back — it goes straight back to the same shape. I tried corrugated card, I tried two layers of thin greyboard, I tried sealing the edges with a swipe of PVA. The PVA one lasted maybe five weeks and then smelled faintly of wallpaper paste. That was the end of card for me.
The stitch, and how tight is tight enough
Everything starts with fabric that has no give. I work cube heads in UK double crochet (US single crochet) in DK yarn on a 3.25 mm (D/3) hook, which gives me roughly 22 stitches and 24 rows to 10 cm — tight enough that the fabric barely stretches when I pull it corner to corner. If yours stretches easily, drop to a 3 mm or even 2.5 mm (B/1) and accept that your hand will complain for the first evening.
I make cubes as six separate flat squares and seam them, and I will argue about this with anyone. Working in the round and trying to coax a tube into a cube gives you soft, rounded edges no matter how carefully you decrease, because there is no structural line at the corner. Six squares whip-stitched together with the yarn tail, through the outer edge stitches only, gives you a hard seam at every edge. That seam is doing real work. It is the crochet equivalent of a folded edge on a box.
One thing I only learned by ruining a head: if you are carrying a pixel face in colourwork across a front panel, the floats on the back can pull the panel in by two or three millimetres and your cube ends up subtly oblong. Check the face panel against the plain panels before you seam anything. I now make the face panel one row taller than the others when the design has more than two colour changes per row.
Wool felt or foam inside blocky mob heads
Two inserts do everything card was supposed to do, and neither minds being damp. For small heads — anything under about 6 cm on a side — I use 3 mm wool-blend craft felt, the heavy stuff sold by the sheet rather than the floppy acrylic squares. For anything 8 cm and up I use 5 mm EVA craft foam, the closed-cell type used for costume armour. Above about 10 cm foam is not optional; felt at that scale bows in the middle of each face.
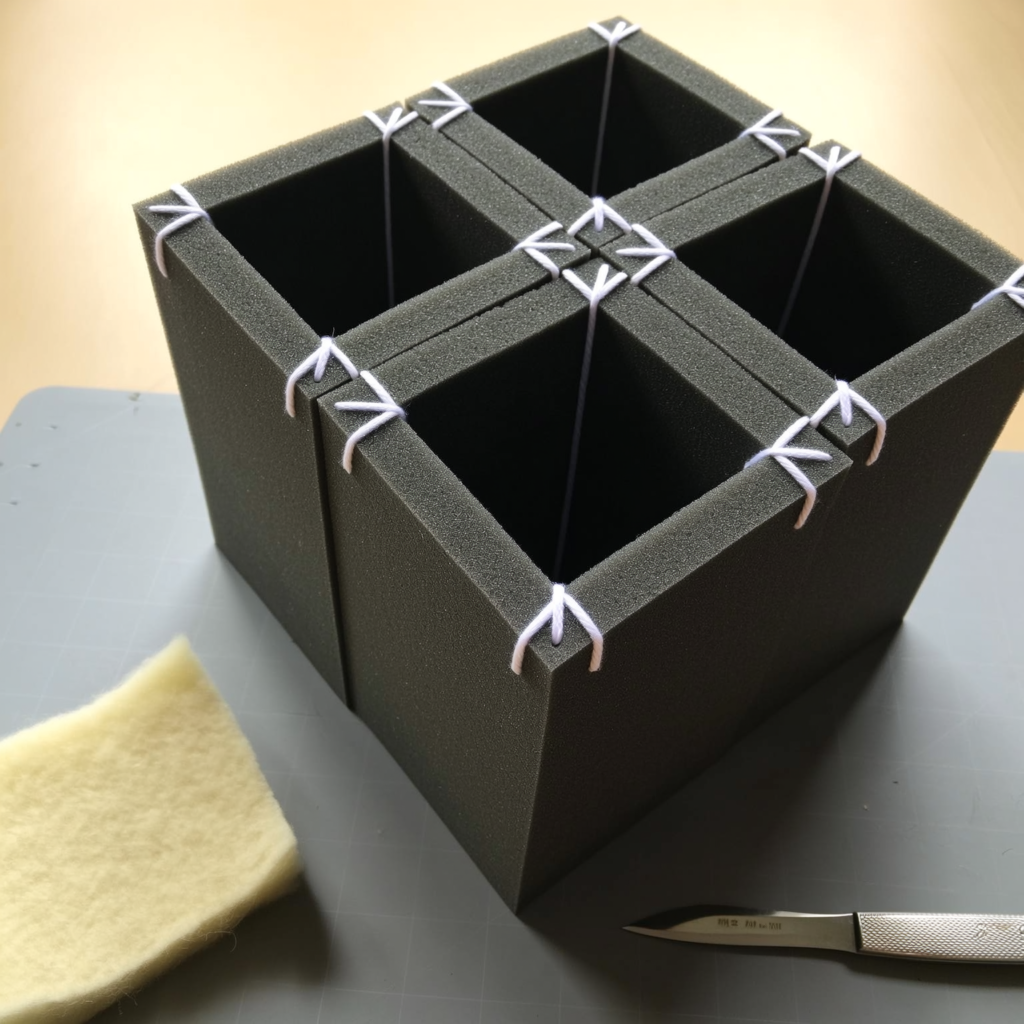
Cut each panel 2 to 3 mm smaller than the inside measurement of your crocheted cube. Too tight and the insert pushes the seams out into little ridges you can see from across the room. I cut felt with scissors, not a rotary cutter, because on a self-healing mat the rotary blade drags the wool fibres and leaves an edge that curls up inside the head where you cannot reach it. Foam I score with a craft knife on the fold lines and bend, which saves seaming.
For assembly, join four side panels into a band with whip stitch in strong polyester thread, leave the top and bottom panels loose, and drop the band into the crocheted cube before you stuff. The band is the skeleton. Top and bottom panels go in last, pressed flat against the inside faces. If you only want to do half the job, do the band and skip the top and bottom entirely — you lose very little and save fifteen minutes of fiddling.
The stuffing order that stops corner dents
Stuffing a cube is not the same as stuffing a ball, and this is where most firm cubes go wrong later. A ball wants a single dense core. A cube wants eight tight corners and a deliberately loose middle, because the faces go convex if you pack the centre, and a convex face on a voxel toy reads as a mistake from three metres away.
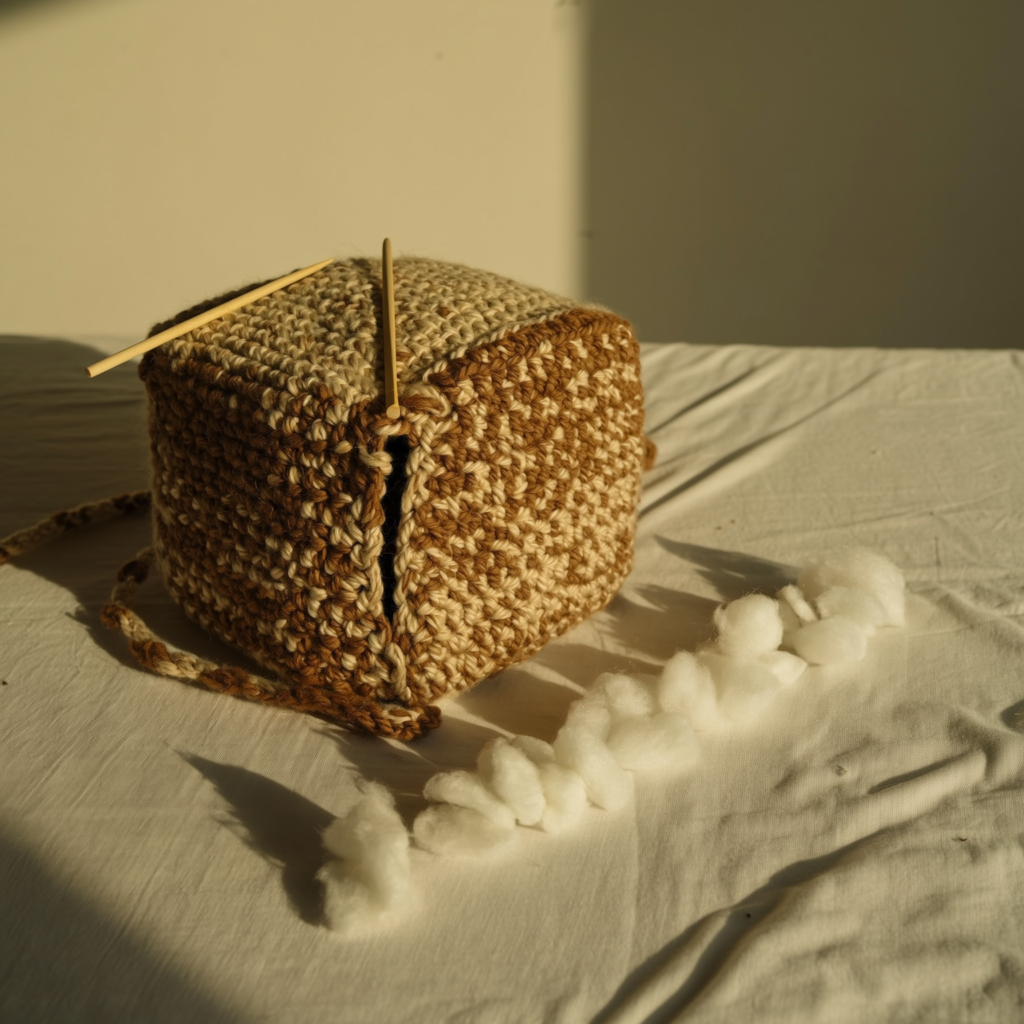
Work through a gap left in one bottom seam, not through the neck. The neck is too narrow to get your fingers plus a tool in, and you will end up pushing stuffing in one direction only.
- Pinch off eight small wads, one per corner, and push each right into its corner with a chopstick or the blunt end of a 6 mm hook. Small — grape-sized for an 8 cm head.
- Fill along the twelve edges next, thin sausages of stuffing pressed into the crease between panels.
- Now the faces: thin, flat sheets of stuffing laid against each inside panel rather than lumps.
- Leave the centre almost hollow. A loose handful is plenty.
- Close the seam, then squeeze the cube hard, all six faces, and re-open it if anything shifts. It almost always needs one more corner wad.
What happens when you wash it
Hand wash, cool, no wringing. Press the water out between two towels and stand the cube on one face to dry, rotating it every few hours, because whichever face is down for eight hours will dry slightly flatter than the others. Mine take two full days near a radiator and about four in a cool room.
Wool felt shrinks and firms up a little in water, which sounds like good news and mostly is — a washed felt insert is stiffer than a new one. The problem is colour. A dark grey felt panel behind a pale sand-coloured face panel will ghost through when wet, and once it dries you can still see the difference in certain light. Use natural, cream or a felt close to your yarn colour, and never use cheap dyed acrylic felt behind pale work.
Foam does not shrink, does not soften and does not care. The one hazard is water getting trapped between the foam and the crochet, which keeps the head damp for days and can leave a musty smell in the stuffing. Squeeze the cube several times under the towel to move that water out. I had one batch of black foam turn very slightly tacky on the surface after a wash, and I have never worked out why — different sheet from the same shop, same wash, completely fine. If a toy genuinely has to go in a machine, use foam plus polyester stuffing, no felt anywhere, 30°C, mesh bag, and expect to spend five minutes afterwards poking the corners back out with a chopstick.
If you change one thing tonight
Take the next head you make and do this much: cut four foam side panels, whip stitch them into a band, drop it in, then stuff corners before anything else. Nothing else has to change — same pattern, same yarn, same hook. Press the finished cube between your palms and if a face bows outwards, open the seam and take stuffing out of the middle, not the edges.
And if you have an older toy with card in it, cut the seam now rather than waiting for the slump. The card will come out in two soft pieces and you will learn something about how long it had left.

Leave a Reply